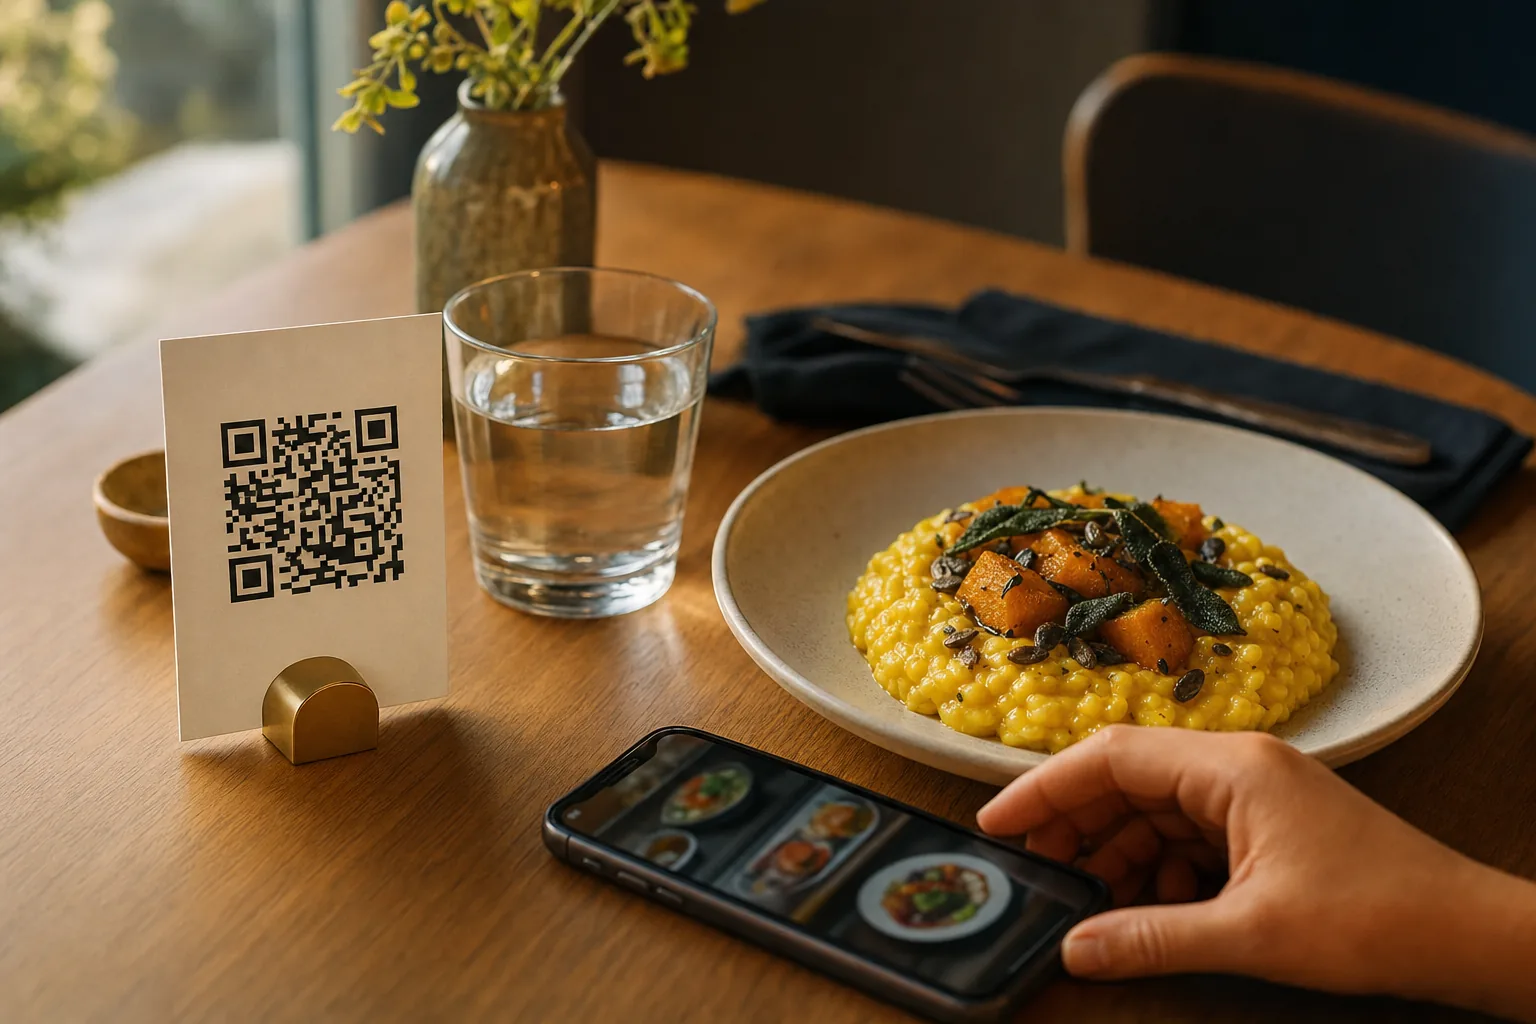
Start with a menu you can keep accurate
A QR code is the doorway to your menu. The useful work happens behind it: clear dish names, current prices and a menu your team can maintain during service. Gather your categories, descriptions, portions and prices before you start. Use photos you have permission to publish, and make sure each one matches the dish it represents.
Decide which restaurant you are setting up and which currency its prices use. If you manage more than one location, check the open workspace before entering anything. A category such as Lunch or Drinks helps guests find their way without knowing how your kitchen is organized.
Build the menu in your workspace
Create an account, complete email verification and sign in. Create or open your restaurant, then go to Menu. Owners and managers can edit the menu; the Java application gives staff read-only access. If an action is unavailable, ask the restaurant owner to check your role instead of making a second workspace.
Add categories first, then dishes. Enter a useful description and the price for each portion. Keep descriptions factual: ingredients and preparation are more helpful than superlatives. Confirm dietary or allergen information with your team before including it; the menu editor does not verify those claims for you.
- Create a category with a name guests recognize.
- Add a dish, description and priced portions; save the changes.
- Add an optional photo and repeat for the remaining dishes.
- Review display order, spelling, prices and availability in the correct workspace.
Publish using the controls in your version
In the Java-backed application, an owner publishes from Overview. The public menu opens at a restaurant menu link and guests do not need an account to read it. A draft menu is not publicly available, even if you can preview its QR card in the workspace.
The table-ordering workspace has a different path: an owner publishes in Settings, creates tables in Tables and uses each table’s QR code. Its table links are different from Java’s restaurant menu links. Follow the controls your workspace shows; do not replace an existing printed destination with a guessed URL.
These guides focus on publishing and maintaining menus. Table ordering belongs to the workspace; the Java application does not provide orders, payments, inventory or analytics.
Read it as a guest before printing
Open the guest link in a separate browser or a private window. Check a narrow phone screen as well as your usual device. Read every category, search for a dish and inspect its portions and prices. Mark an item unavailable and refresh the guest page to check its presentation, then restore the intended state.
Only print after the published destination works without a staff sign-in. Test the final printed QR code, not just the image on your monitor. Keep a readable link or an ask-staff option alongside it so a guest with a flat battery or a scanning problem still has a way to see the menu.
Frequently asked questions
Do guests need an app to open a QR menu?
No. A phone camera recognizes the code and opens the published menu in the browser. Guests do not need an account or an app to read it. Test this yourself in a private window so a staff sign-in cannot hide a problem.
Can I change the menu after printing the QR code?
Yes. Saved edits to dishes, prices and availability appear at the same menu link, so the printed code keeps working as long as the restaurant stays published and its link is unchanged. Guests with the page already open may need to refresh.
Who can edit the menu?
Owners and managers can create and edit categories and dishes. Staff accounts have read-only access. Only an owner can publish the restaurant’s menu so that the public link works for guests.
What should I check before printing table cards?
Open the guest link on a phone without signing in. Read every category, check portions, prices and sold-out labels, try search, and only then print a sample card and scan it at a table in normal lighting.
- #qrmenu
- #digitalmenu
- #restaurantsetup
- #menupublishing