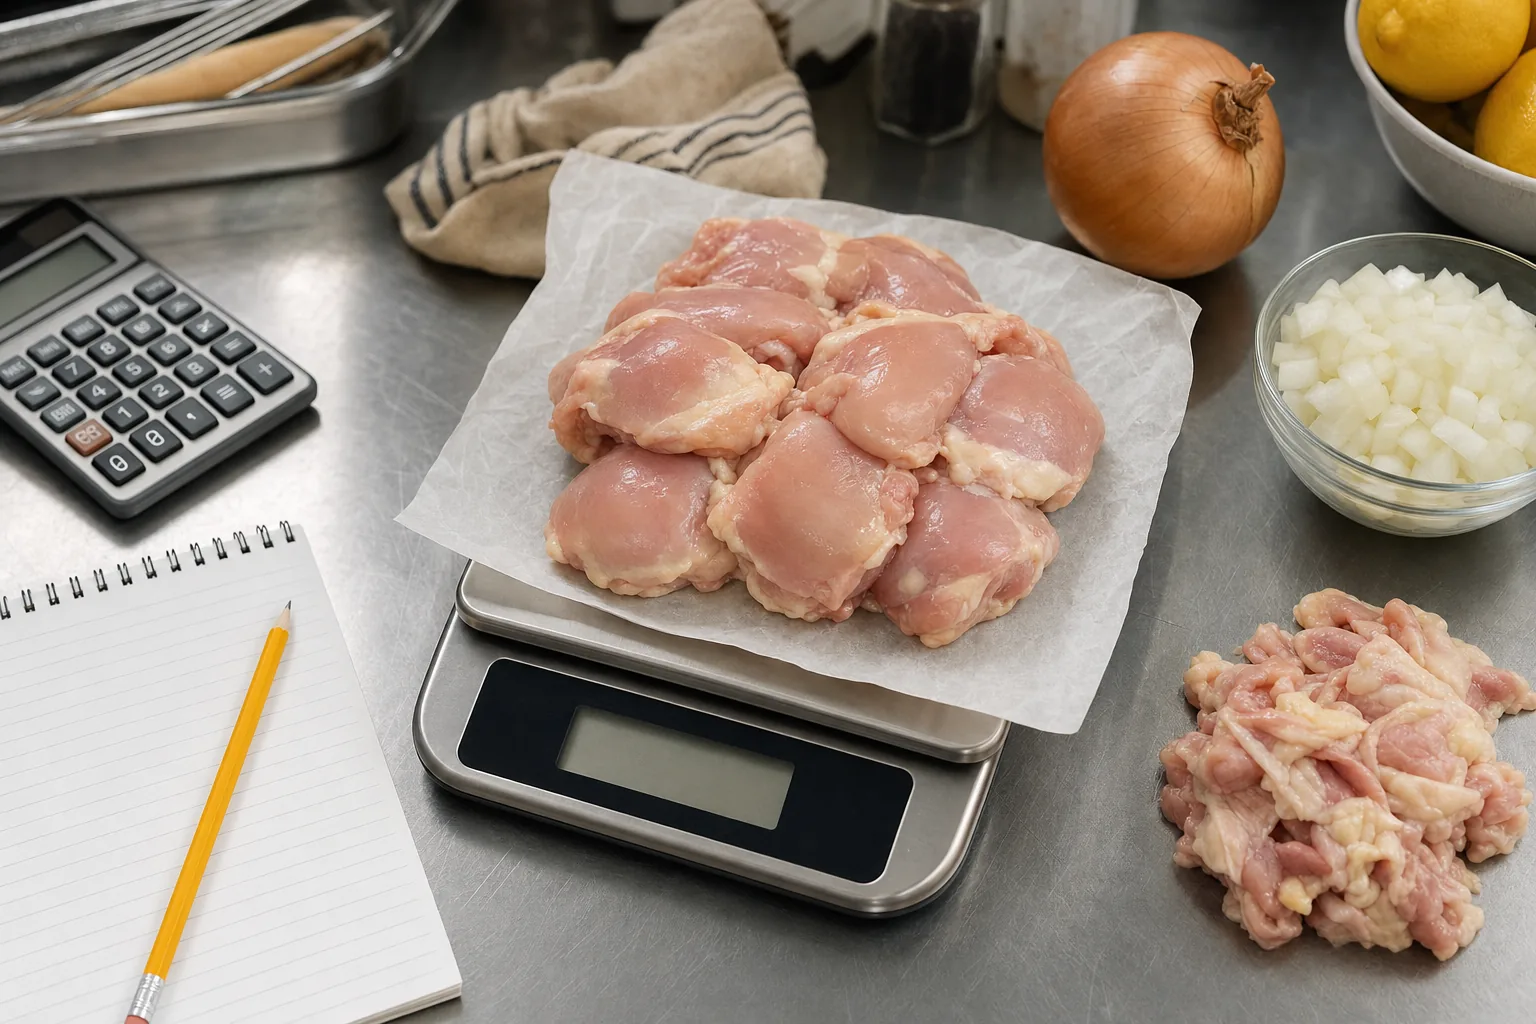
Why recipe costing is the foundation of a profitable menu
Many restaurants price dishes by instinct: what the place down the road charges, what feels right, what the chef thinks guests will pay. Instinct is useful for positioning, but it cannot tell you whether a dish makes money. Recipe costing can. It tells you, to the paisa or the cent, what each plate costs to produce, and it lets you set prices, design specials and negotiate with suppliers from facts rather than hope. It is equally useful for a single cafe and a group of outlets.
Costing also exposes hidden problems. A dish that looks profitable can lose money because of heavy trim loss, an over-generous garnish or a sauce that uses expensive ingredients nobody notices. Once you have a costed recipe, you can see which line is driving the cost and decide whether to change the supplier, the portion, the recipe or the price. Without that breakdown, cost cutting tends to become blunt: cheaper oil across the board, smaller portions everywhere, and guests who notice. With it, you can fix the one ingredient that is actually hurting the margin and leave the rest of the dish alone.
The process has four parts: write a standardized recipe, convert purchase prices into usable costs with yield tests, add up the plate cost, and compare it with the selling price. The rest of this guide walks through each one with a worked example you can copy. You need nothing more sophisticated than a reliable digital scale, a spreadsheet and an hour or two per week to keep it current.
Start with a standardized recipe card
A standardized recipe is the single source of truth for a dish. It lists every ingredient by weight or exact volume, the method, the batch yield, the portion size and a photo of the finished plate. Weights beat cups and handfuls because they do not change between cooks. A recipe that says “a handful of cashews” cannot be costed or reproduced; one that says “40 g cashews, soaked” can.
Write recipes at two levels. Sub-recipes cover components made in batches, such as a tomato-onion masala base, a stock, a dressing or a dough. Menu recipes then call for a portion of each sub-recipe plus the items added at service. This structure keeps costing manageable: when the price of tomatoes changes, you update one sub-recipe and every dish that uses it updates with it.
Store the cards somewhere the whole team can reach, whether a binder at the pass or a shared spreadsheet, and give each one a version date. If a cook improves a dish, the card changes first and the cost is recalculated before the new version reaches guests. Test every new card by having a cook who did not write it prepare the dish from the card alone. If the result differs from the chef's version, the card is missing a weight, a temperature or a step, and the cost is probably wrong too.
- Dish name, category and the date the recipe was last tested.
- Every ingredient with its quantity in grams, millilitres or units, including garnish and oil.
- Batch yield and the number of portions it produces.
- Portion size by weight, plus the serving vessel and portioning tool.
- Method in numbered steps, with cooking temperatures and times.
- Allergens present and a photo of the correctly plated dish.
As-purchased versus edible portion
The price on your supplier's invoice is the as-purchased, or AP, cost. It covers the onion with its skin and root, the fish with its head and bones, the pineapple with its crown and rind. What reaches the plate is the edible portion, or EP. The difference between the two is the yield, expressed as a percentage: edible weight divided by purchased weight.
The formula that matters is simple. EP cost per kilogram equals AP cost per kilogram divided by the yield percentage. If whole chicken costs 240 per kilogram and you keep 70 percent as usable meat, the real cost of that meat is about 343 per kilogram. Costing a recipe with AP prices instead of EP prices understates the cost of every trimmed ingredient, sometimes by a third or more.
Yield depends on your product, your supplier and your cooks' knife skills, so published yield charts are only a starting point. The size of a pineapple, the grade of a chicken and the sharpness of a knife all move the number. The table below shows the kind of variation to expect, not figures to cost with. Replace every one of them with your own tests before you rely on a plate cost, and retest when you change supplier or product specification.
| Ingredient | Main loss | Example yield | Cost impact |
|---|---|---|---|
| Whole chicken, breaking down | Bones, skin, fat | 65 to 75 percent | Large; test every new supplier |
| Onions, peeled and diced | Skin, root, top | 85 to 90 percent | Small per kilo, large in volume |
| Pineapple, peeled and cored | Crown, rind, core | 50 to 60 percent | Large; fruit size matters |
| Whole fish, filleted | Head, frame, skin | 35 to 50 percent | Very large; depends on species |
| Coriander, picked | Stems, wilted leaves | 60 to 75 percent | Moderate; stems can be reused |
Run yield tests on your key ingredients
A yield test is a short, careful exercise: weigh the product as it arrives, process it exactly as your recipe requires, then weigh the usable part and each type of trim. Do it with your normal cooks, not your best butcher on a slow afternoon, because you want the yield your kitchen actually achieves during a typical prep shift. Repeat it two or three times and use the average.
Prioritize the ingredients that matter most to your costs: proteins, expensive produce and anything with heavy trim. A restaurant built around grilled fish, biryani or a tasting menu of seasonal vegetables will find more money in yield tests than almost anywhere else. Record the date, supplier, product size and the cook who ran each test, so that when the yield changes you can tell whether the product, the supplier or the technique moved. Yield tests also make excellent knife-skills training for junior cooks.
Raw yield and cooked yield
Some ingredients lose weight twice: once in trimming and again in cooking. A beef brisket loses fat in trimming, then loses moisture and rendered fat during a long braise. If your portion is specified as cooked weight, you need a cooked yield test too. Weigh the trimmed raw product, cook it to your standard, rest it, weigh it again and divide. Multiply the raw and cooked yields together to find the overall yield from purchase to plate.
Give trim a value
Trim is not always waste. Chicken frames become stock, fish heads become a curry, vegetable trim goes into broth and coriander stems go into chutney. If a by-product replaces something you would otherwise buy, you can credit its value against the main item. Keep this simple and conservative: only credit trim you genuinely use, at the value of what it replaces. A tub of frames that sits in the freezer for a month is worth nothing on paper.
- Weigh the product exactly as received and record the AP price per kilogram.
- Process it to your recipe specification using your normal team and tools.
- Weigh the usable product and each category of trim separately.
- Divide usable weight by purchased weight to get the yield percentage.
- Cook a sample if portions are specified cooked, and calculate the cooked yield.
- Repeat the test two or three times, average the results and record them on the recipe card.
Calculate the plate cost: a worked example
Plate cost is the total ingredient cost of one portion as served. Take a butter chicken plated with rice. Boneless chicken thigh costs 300 per kilogram AP and yields 75 percent after trimming, so the EP cost is 400 per kilogram. A 180 g portion therefore costs 72. The makhani gravy sub-recipe costs 25 per portion, the steamed rice 15, and the cream drizzle and coriander garnish 5. Those components add up to 117.
Now add a small allowance, often called a Q factor, for items that are hard to measure per plate: cooking oil, salt, spices used in tempering, the lemon wedge on the pass. Many kitchens use a small percentage of the plate cost; use something you can defend from your own counts. Adding 3 percent here brings the plate cost to roughly 120.5. Review the allowance occasionally against your oil and spice purchases.
If the dish sells for 450, the food cost percentage is 120.5 divided by 450, or about 26.8 percent. The same method works in any currency and for any dish, from a cappuccino to a whole roasted fish. Cost every component that appears on the plate, including the bread basket or poppadoms if they go out with the dish. Leaving them out is a common reason costs look healthy on paper but not in the books.
Cost every component that appears on the plate, including the bread basket if it goes out with the dish.
Food cost percentage: theoretical versus actual
The calculation above gives you the theoretical food cost: what the dish should cost if everything goes to plan. Your actual food cost comes from your books. For a period such as a week or month, it is opening stock plus purchases minus closing stock, divided by food sales for that period. The gap between theoretical and actual is where waste, over-portioning, spoilage, theft and unrecorded staff meals hide.
There is no universal correct percentage. A fine-dining restaurant with heavy labor and premium ingredients, a high-volume cafe and a bar food menu all run differently, and a dish with a higher food cost percentage can still earn more cash per plate than a cheap one. Watch both the percentage and the contribution margin, which is selling price minus plate cost. That margin, not the percentage, pays the rent.
- Count stock on the same day and at the same time each period so results are comparable.
- Value closing stock at current purchase prices, not old ones.
- Record staff meals, comps and waste separately so they do not blur the picture.
- Investigate any gap between theoretical and actual cost that persists for more than one period.
- Compare categories separately, because a bar and a kitchen rarely share the same margins.
Update costs when supplier prices change
Recipe costs go stale quickly. Dairy, edible oils, onions, tomatoes, seafood and imported goods can move sharply with seasons, weather and exchange rates. A costing done in spring can be badly wrong by monsoon or winter. Make recosting part of your purchasing routine: when an invoice shows a meaningful price change on a key ingredient, update the ingredient price and let it flow through every sub-recipe and dish that uses it.
Keep an ingredient price list with the supplier, pack size, AP price, yield and calculated EP price on each line. A spreadsheet is enough. Link recipe cards to that list rather than typing prices into each card, so one change updates everything. Note the date of each update to see how fresh your numbers are. Record the pack size carefully, because a supplier who moves from a 15 kg to a 12 kg tin of oil at a similar price has raised your cost per kilogram even though the invoice looks familiar.
When a cost rises, you have options beyond raising the price: switch to a different cut or grade, adjust the portion, change a garnish, rework the recipe or feature the dish less prominently. Make the decision deliberately rather than letting the margin erode quietly. Talk to suppliers as well: a longer commitment, a different delivery schedule or a larger pack of a stable dry good can sometimes hold a price. Whatever you change, test the dish again so guests still get the plate they came back for.
From plate cost to menu price
Plate cost sets the floor, not the price. A common starting point is to divide plate cost by your target food cost percentage, then adjust for perceived value, competition and where the dish sits on the menu. A dish that is cheap to make but iconic, such as a signature dal or house fries, can carry a higher margin. A premium dish that anchors the menu may run a higher food cost deliberately.
Once you change a price, change it everywhere at once. Update your POS, printed menus and any digital menu together so guests never see two prices for the same dish. With a QR menu in Menulo, owners and managers edit the price of each portion size and the published menu shows the new price on the next refresh, without reprinting the QR code. Pair that with sales data from your POS to see how guests respond.
Frequently asked questions
How do you calculate the cost of a recipe?
List every ingredient by weight, convert each purchase price into an edible-portion price using its yield, and multiply by the quantity used. Add the components together, include garnishes and sides, and add a small allowance for oil and seasoning. Divide a batch recipe's total by the number of portions to get the cost per plate.
What is the formula for food cost percentage?
For a single dish, food cost percentage is plate cost divided by selling price, multiplied by 100. For a whole period, it is opening stock plus purchases minus closing stock, divided by food sales for that period. Compare the two figures to find losses from waste, over-portioning or spoilage.
What is the difference between AP and EP in recipe costing?
AP, or as-purchased, is the product as it arrives from the supplier, including skin, bones, peel and other inedible parts. EP, or edible portion, is what remains after trimming and preparation. EP cost per kilogram equals AP cost per kilogram divided by the yield percentage, and recipes should always be costed at EP.
How often should restaurants update recipe costs?
Recost whenever a key ingredient's price changes meaningfully, and review the whole menu at least every quarter or whenever you change the menu. Volatile items such as dairy, oils, seafood and seasonal produce may need checking more often. Linking recipes to a central price list makes frequent updates practical.
What is a yield test in a kitchen?
A yield test measures how much usable product you get from what you buy. You weigh an ingredient as received, prepare it to your recipe specification, then weigh the usable portion and the trim. Usable weight divided by purchased weight gives the yield percentage, which converts purchase prices into accurate recipe costs.
- #recipecosting
- #foodcostpercentage
- #yieldtest
- #platecost
- #standardizedrecipes